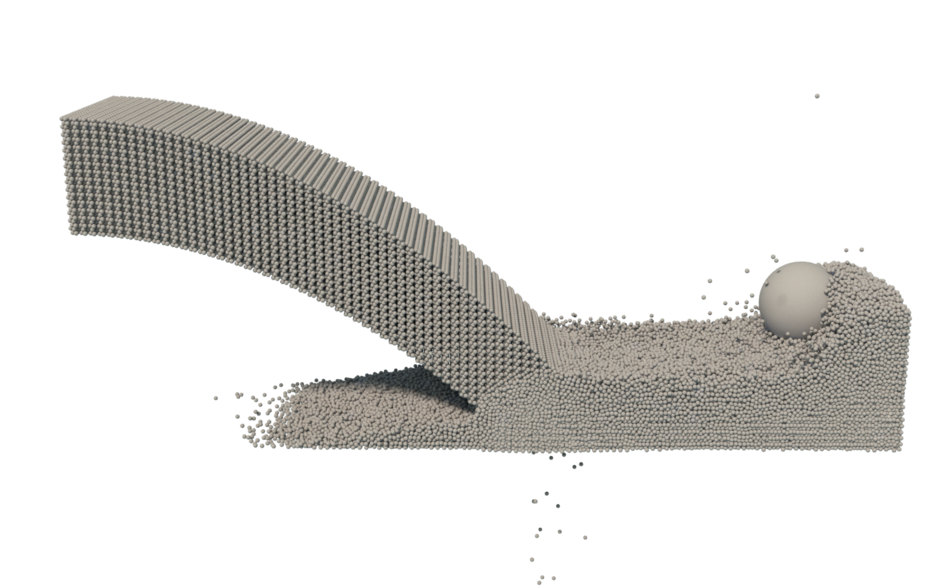
Scientific Rendering Using Mitsuba - Physically Based Renderer
To render some of my simulations I have recently started using Mitsuba as a quick way to get a nice visualization. The scene description file is very well documented Here. In this post I am going to provide some example code to show how I setup a scene description, stage the simulation data to render and finally render the data.

XML
Scene Definition
Mitsuba reads in all of its data via XML files. Here is an example of a scene file. I generally use a single scene file for an entire simulation. This does mean that my camera will be static however.
Note the file.xml which I include. This is where the simulation data is actually defined, at runtime you can define the “$file” variable to the data file for the current frame (ex: data123.xml)
?xml version="1.0"?>
    scene version="0.4.0">
    integrator type="photonmapper">
        integer name="maxDepth" value="32"/>
    /integrator>
    sensor type="perspective">
        transform name="toWorld">
            lookat target="0.000000 , 3.000000, 0.000000" origin="0.000000 , 11.000000, -30.000000" up="0.000000 , 1.000000, 0.000000"/>
        /transform>
        sampler type="ldsampler"/>
        film type="ldrfilm">
            integer name="height" value="1200"/>
            integer name="width" value="1920"/>
            rfilter type="gaussian"/>
        /film>
    /sensor>
    include filename="$file.xml"/>
    /scene>
I use TinyXML2 to generate the XML files as it is lightweight and very easy to use.
Geometry Definition
Here is an example of a data file that can be included in the scene above. It contains two spheres without any material or color.
?xml version="1.0"?>
	scene version="0.4.0">
		shape type="sphere">
			float name="radius" value="1"/>
			transform name="toWorld">
			translate x="-1" y="1.6" z="0"/>
			scale value="1"/>
			/transform>
		/shape>
	/scene>
C++ Code
Sample C++ TinyXML2 code that generates data for a sphere
XMLDocument data;

static const char* xml_root = "<?xml version=\"1.0\"?>";

data.Parse(xml_root);
root_data = data.NewElement("scene");
root_data->SetAttribute("version", "0.4.0");

XMLElement* xml = data.NewElement("shape");
xml->SetAttribute("type", "sphere");
XMLElement* xml_pos = data.NewElement("float");
xml_pos->SetAttribute("name", "radius");
xml_pos->SetAttribute("value", 1.0);
xml->LinkEndChild(xml_pos);

XMLElement* xml_transform = data.NewElement("transform");
xml_transform->SetAttribute("name", "toWorld");

xml_pos = data.NewElement("translate");
xml_pos->SetAttribute("x", -1.0);
xml_pos->SetAttribute("y", 1.6);
xml_pos->SetAttribute("z", 0.0);

xml_transform->LinkEndChild(xml_pos);

xml_pos = data.NewElement("scale");
xml_pos->SetAttribute("value", 1.0);

xml_transform->LinkEndChild(xml_pos);

xml->LinkEndChild(xml_transform);

root_data->LinkEndChild(xml);

data.InsertEndChild(root_data);
data.SaveFile(filename.c_str());
Rendering
The following command will use the scene file with a specific frame file and render out that frame to png
mitsuba scene.xml -D file=data0 -o frame0.pngOnce all data is rendered you can use This post to convert it all into a video!